How to remove and install new front wheel bearing. W202 C-Class, Step by step instructions.
It is very important that while you install the new wheel bearing and pack it with grease, keep the bearing and the area as clean as possible.
Application:
- 1994-1996 C220 W202
- 1997-2000 C230 W202
- 1994-2000 C280 W202
- 1995-1997 C36 AMG W202
- 1998-2000 C43 AMG W202
Wheel bearing’s main purpose is to support the weight of the car while parked or during driving while allowing the wheel to freely rotate. Wheel bearings don’t usually need to be replaced for at least 200,000 miles in theory, but very often we see cars that need the wheel bearings replaced between 100,000 and 150,000 miles.
Parts Needed
 |
Front Wheel Bearing Part Number: 2103300051 |
 |
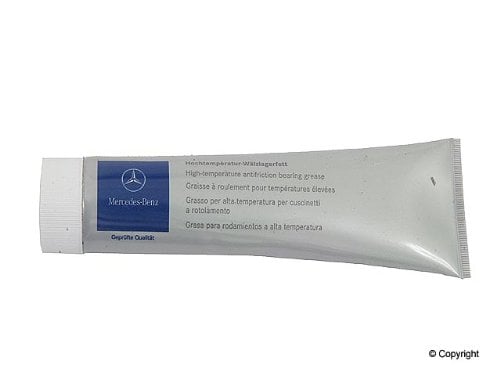
High-Temperature Wheel Bearing Grease |
Tools Required
 |
Breaker Bar |
 |
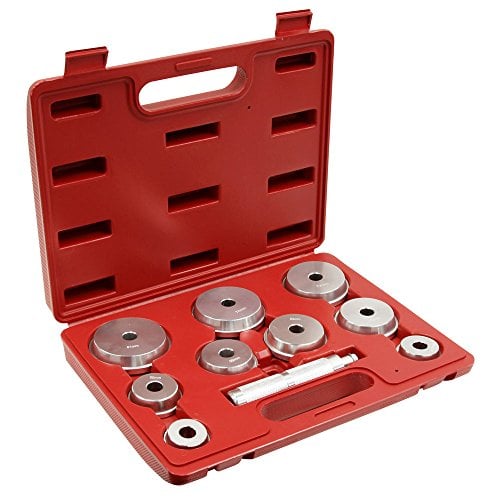
Bearing race and seal installation kit |
 |
WD-40 |
 |
Torque Wrench |
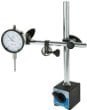 |
Dial Indicator |
Instructions on how to replace a bad wheel bearing Mercedes-Benz C-Class W202
-
- Prepare
 Set the emergency brakes. Lift vehicle. Place jack stand supports under the car. Loosen the lug nuts.
 - Remove the front wheel.
 Remove the lug nuts and remove the front wheel. Undo the wheel nuts and remove the wheel.
 - Remove the brake caliper.
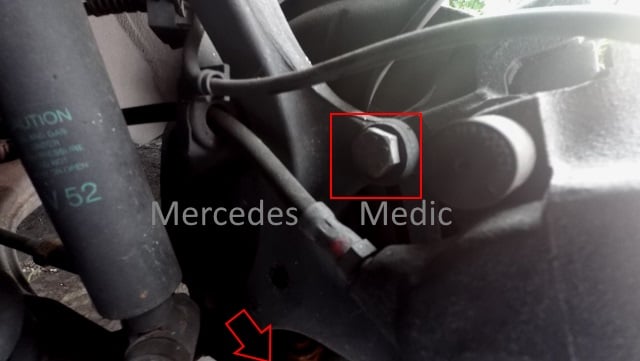
 There are two 17 mm bolts on the back that need to be removed. Use the breaker bar to loosen and then remove these two bolts. Slide out the caliper with the brake pads still on the caliper. You may want to use a screwdriver to open the brake pads slightly.
 - Remove the dust cap. Pry off the dust cap using a flat-bladed screwdriver. The dust cap can be used by using a flathead screwdriver. You may need to tap it with a hammer if there is rust or if the cap has not been removed for an extended period of time. If the cap does not come off, spray some penetrant fluid such as WD-40, and let it sit for about 10 minutes.
- Remove the bolt
 Once the cap is removed you will see the clamp nut. It has a hex bolt that requires a 5mm hex key. Once the bolt is loosened, the nut can be easily removed.
Remove the hub Pull out the outer bearing and grab the hub with both hands and remove it. You shouldn’t have to use much force, it will easily come out.
- Inspect the spindle and bearings Once you remove the hub inspect the old bearings and the spindle. Look for grooves or pitting.
- Remove the inside seal
 If you look at the back of the hub you will see that there is a seal that needs to be removed in order to remove the inner bearing. You will need a seal puller to remove the old seal from the wheel hub. The seal is there quite tight so you will have to try several times. Keep on praying and the seal will eventually come out. The old seal will most likely bend as you remove it, but don’t worry about it since you will be throwing it away. The new bearing kit should have a new bearing seal.
 - Remove the old wheel bearing and race from the hub For this step you will need to use a bearing replacement kit.
 Buy Bearing race and seal installation kit on AmazonRemove the old wheel bearings from the hub. The bearings are easily removed but you also need to remove the races that are pressed into the wheel hub. You have two races that you need to remove. One in the inside and one on the outside. You can remove the race using a drift. If you don’t have a drift to remove the race, you can use a round object such as a 31 mm socket to fit inside the bore. This is a slow process. Repeat the process for the other race as well.
 - Clean hub Once you remove both bearings including the race it is time to clean the inner part of the hub.
- Install new bearings Install the new race in reverse order. Be careful to not install it backward. The larger diameter hole of the race should be on the outside. Use the drift to press in the race. Do not hit directly on the bearing. If you don’t have a drift use a large socket or the old race next to the new one and hit on the socket or old race. This will apply even more pressure on the race and avoid damaging it.
IT IS VERY IMPORTANT THAT THE RACE GOES IN STRAIGHT. Be careful as the new bearing can easily tilt when you first try to press it in. Do this step slowly paying careful attention to the race alignment. - Add grease
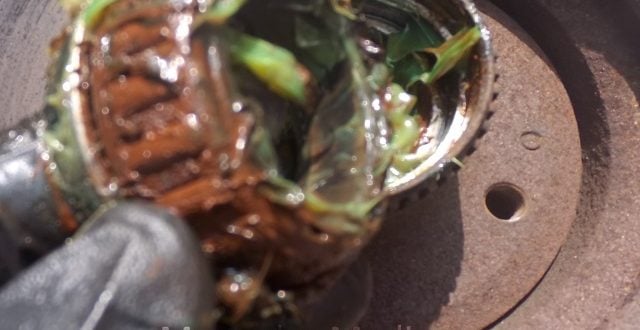
 Use the high-temperature grease to coat the new bearing. Pack the hub with grease as well. Add grease to the needle bearing and make sure it is packed with grease. Make sure to pack the bearing with grease. It is better to have more than not enough grease. Add grease to the spindle as well.
 - Install new wheel bearing seal
The next step is to install the wheel bearing seal. Very carefully tap the oil seal in until it is flush with the hub. Don’t hit the seal directly with a hammer but place another object on top of the seal that you can hit but that will apply even pressure on the seal. Install the wheel bearing Now you are ready to push the wheel hub into the spindle. Push it all the way back until it sits properly. - Install the nut and adjust it.
You can use a dial indicator to adjust the main nut. Use the 5mm Allen wrench to tighten the nut on the axle nut. Be careful to not over-tighten the nut. If you don’t have a dial indicator you can tighten the nut by hand as much as you can, then tighten it with a wrench another ¼ turn. You want the hub to turn freely but at the same time not have any play. The better way to do this is to use a dial indicator to measure the lateral play while you rotate the rotor. The typical run-out spec for this car is 0.01 – 0.02 mm. Tighten the nut bolt to approximately 10 ft/lbs. Here is a video that you may find helpful.

- Prepare


Related W202 Change Front Wheel Bearing DIY VIDEO
Related Articles
- Wheel Bearing Replacement Video Source: Youtube.com
- Photo DIY Front Bearing Remove and Replace Source:benzworld.org
- Adjusting Wheel Bearing C-Class W202 Source:Bentleypublishers.com


