Step-by-step DIY instructions with pictures on replacing the Front Lower (Rearward) Control Arms with Bushings. These instructions apply to the E and CLS class, rear-wheel drive only.
Parts needed:
- Left lower control arm (RWD only, not 4Matic) 2113308207 for Mercedes W211 W219 W320 E350 CLS55 Control Arm Right Front Lower OEM LEMFOERDER
- Right lower control arm( RWD only), Part Number 2113308107 Mercedes W211 W219 E55 E350 CLS500 Control Arm Left Front Lower OEM LEMFOERDER
Application:
- E Class ( E320, E350, E550, E63) Years: 2003-2009
- CLS Class (CLS550, CLS63 AMG, CLS 500) Years: 2005-2010
Special Tools Needed:
IMPORTANT
Make sure to jack up your car before you begin work safely. Here is an excellent guide if you need help on how to do this.
Step-by-step instructions.
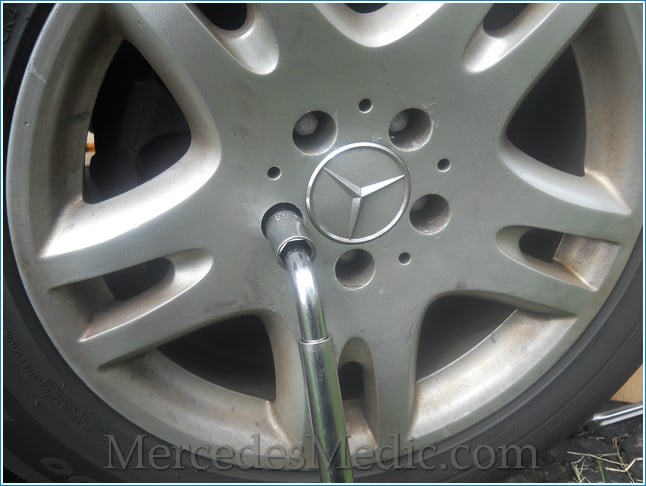
- Loosen the lug nuts before you raise the car.

- Raise the car. Make sure to use jack stands and not only just a jack.
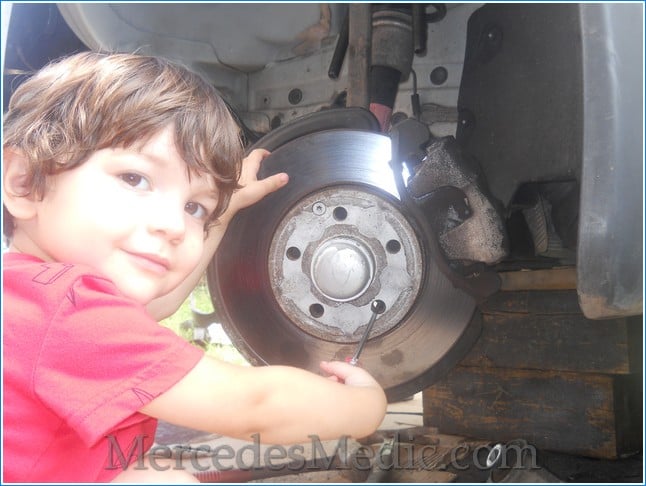
- Remove the front wheel.
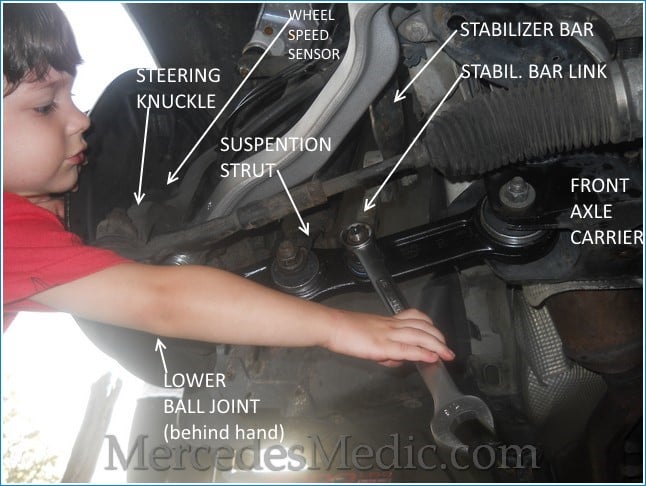
- Remove the wheel speed sensor from the steering knuckle. All you need to do is remove the bolt on the sensor and unclip the wire from the plastic holder.
- Detach the strut from the control arm by removing the bolt that holds it in place. If you have airmatic suspension, you must first release/deflate the air suspension system. When you reinstall this bolt, tighten it to 165 Nm.
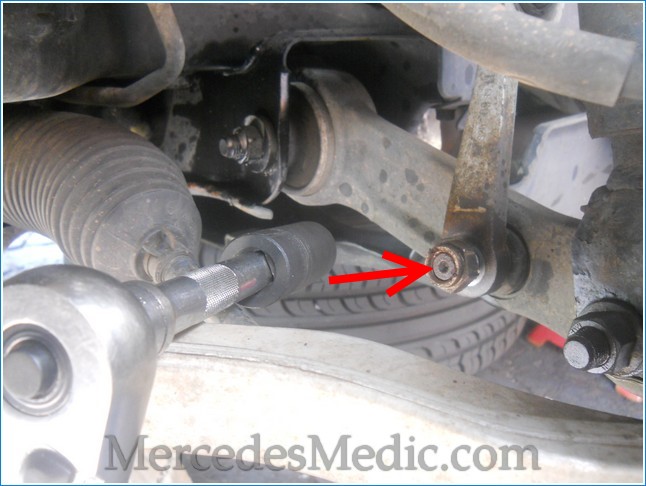
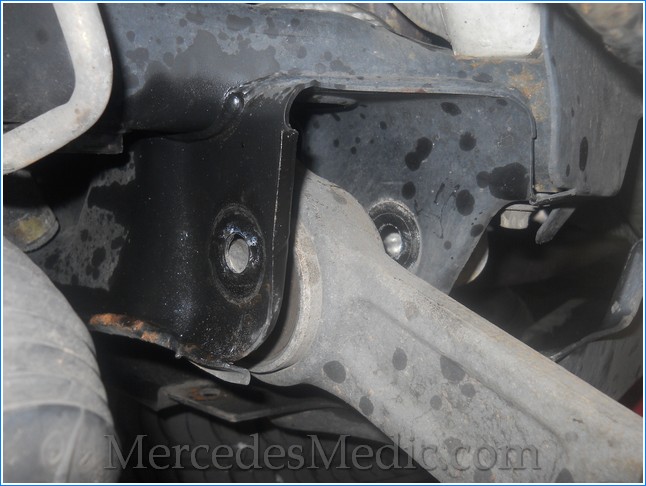
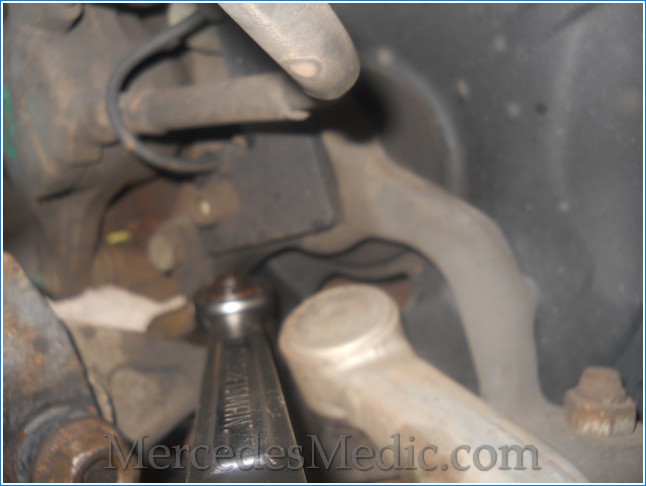
- Remove the bolts that attach the control arm to the subframe/front axle carrier. You must counter-hold the bolt in the back using E (female) Torx socket.
- Now the control arm should be able to move down. Next, you need to remove it from the steering knuckle. This is much easier now that the control arms move freely.
- Reinstall in reverse order. Note torque specifications shown below.

NOTE: Your alignment may be off because you will be removing the slackening nut that holds the control arm to the frame. Alignment is recommended after doing this repair.
Torque Specifications
- Bolt mounting the strut to the control arm: 165 Nm
- Stabilizer bar bolt: 130 Nm
- Front axle speed sensor: 25Nm
- Self-locking nut to the steering knuckle: 50 Nm
- Bolt that connects the control arm to the front subframe: 80 Nm
Part numbers (these do not apply to 4MATIC, only RWD):
- Front Lower Control Arm / Thrust Arm with bushings and ball joints.
LEFT: 2113304311
Right: 2113304411 - Front Lower Rearward Control Arms with Bushings
How to remove/install the front lower control arm.
Left:
Right: - Ball joints for Front lower Control Arm 220 33307 27
220 333 07 27 ; 2203330727 ; 2203330227 220 333 02 27 ; A211 330 04 35 ; A2203330727 2113300435 ; 211 330 0435 ; 2203330127;A2113300425
NOTE: The ball joints are the same for the left and right.


