
Introduction
Welcome to this DIY guide on replacing the upper control arm ball joint on a Mercedes-Benz E-Class! The upper control arm ball joint is an essential component of your vehicle’s suspension system that connects the control arm to the steering knuckle, allowing for smooth and stable handling while driving. Over time, the ball joint can wear out, causing various issues, including steering wheel vibration, uneven tire wear, and a clunking noise when driving over bumps.
Replacing the upper control arm ball joint is a relatively straightforward process that can be done at home with the right tools and some mechanical know-how. In this guide, we’ll take you through each process step, from removing the old ball joint to installing the new one and testing the suspension.
| Make: | Mercedes-Benz |
| Model: | E CLS Class |
| Years: | 2003 2004 2005 2006 2007 2008 2009 |
| Difficulty: | Medium |
| DIY Cost | $50-$110 |
| Time: | 60 minutes |
| Frequency: | Every 80,000 miles |
Parts & Tools Required
Here is a list of all the parts you will need for this repair. To save money on any of these parts, click on them, and you will be taken to Amazon, where you can check the price and read reviews.
You will need a metric set of tools that you already most likely have. If you don’t, we recommend you consider these mechanic tool sets.
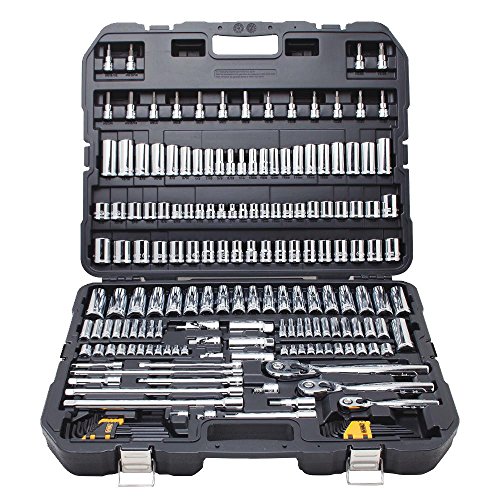
Popular Tool Sets for Auto Repair
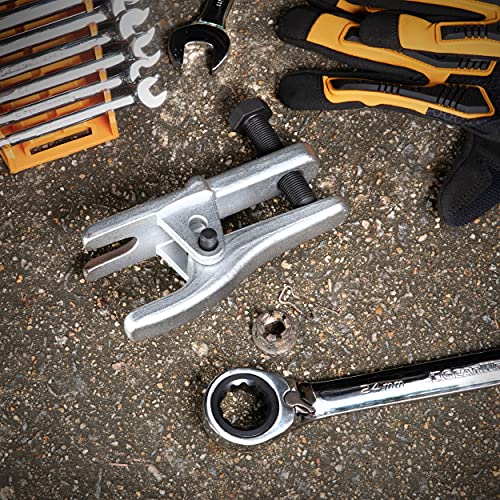
You will need a ball joint separator tool for the upper control arm ball joint that connects to the steering knuckle.
Do It Yourself Repair Instructions
STEP 1 Raise the Vehicle
Locate the side on which you will be replacing the control arm. Safely raise the vehicle and secure it using 2 Ton min rating jack stands.

STEP 2 Remove the cabin air filter cover and front wheel
Open the hood and remove the cabin air filter cover. Also, remove the front wheel to access the upper control arm.
STEP 3 Remove the ball joint/ follower joint
First, remove the nut from the upper ball joint bolt. Using a ball joint separator like the Gear Wrench Universal Ball Joint Tool remove the upper ball joint/follower joint from the steering knuckle.
STEP 4 Bolts to frame
Two bolts connect the upper control arm to the frame. Remove both of them. You must hold the bolt on one side as you remove the nut you access from the engine bay.

STEP 5 Remove the nut
As you remove the nut, you must counter-hold the bolt, as shown in step 4, so it does not spin freely.

STEP 6 Remove the second bolt
You need to remove the cabin air filter housing. You may find it easier if you remove the auxiliary battery, but this is not required.

STEP 7 Remove the control arm
After you remove both bolts, you can pull out the old control arm, as shown in this picture.

STEP 8 Install new control arm
Install the new control arm. Install the two bolts that connect the control arm to the frame and tighten them to 50 Nm using torque wrench..

STEP 9 Connect the control arm to the steering knuckle.
Install the ball/follower joint between the upper control arm to the steering knuckle. Tighten the nut to 22 Nm using a torque wrench.
You are done. Congratulations!
Related How To Repair Videos
Related Articles
Frequently Asked Questions
How to diagnose a bad upper control arm / ball joint problem?
You will hear noises when you go over bumps or when you make turns. A worn-out ball joint should be repaired as soon as possible. It can cause the ball joint to separate, thus detaching the ball joint from the knuckle. Step four of the instructions above shows a worn upper ball joint with excessive play.
Do I need to replace the control arm or the upper ball joint?
Some of the Mercedes-Benz upper control arms have the ball joint as part of the control, which can not be replaced. Mercedes-Benz improved the design over the years, allowing the upper ball joint to be easily removed from the control arm by removing three bolts. You can remove just one part if you have the control arm with the upper ball joint fastened with three bolts, as shown in the image below.

My car failed inspection for upper ball joint/control arm bushings.
If your car failed state inspection because you have a bad upper ball joint or bushing, you must replace the control arm.
How can I check if my upper control arm is bad?
Raise the car so that the front tire is off the ground. Grab the tire at the top and bottom (12 and 6 o’clock) and try to move the tire. The upper ball joint or bushings are likely defective if you hear noise or notice movement. Note that a bad wheel bearing or lower control arm bushings can allow the tire to move when it shouldn’t.
What are some signs of a bad upper control arm ball joint?
Here are the most common signs:
- You hear noise when driving over bumps or taking turns.
- The wheel moves when you try to shake it. Raise the car and see if you can move the wheel. If it has played, you have a bad upper or lower control arm ball joint.
- Steering Wobble. When you drive at high speed, the steering may feel loose, or the car will fill like it is hard to control and moves all over the lane.
Applicable Models
These instructions apply to the following models.
| Year | Make | Model |
|---|---|---|
| 2006 | Mercedes Benz | CLS500 |
| 2006 | Mercedes Benz | CLS55 AMG |
| 2007 | Mercedes Benz | CLS550 |
| 2007 | Mercedes Benz | CLS63 AMG |
| 2003 | Mercedes Benz | E320 |
| 2004 – 2005 | Mercedes Benz | E320 |
| 2006 – 2009 | Mercedes Benz | E320 |
| 2006 – 2009 | Mercedes Benz | E350 |
| 2003 | Mercedes Benz | E500 |
| 2004 – 2006 | Mercedes Benz | E500 |
| 2003 – 2006 | Mercedes Benz | E55 AMG |
| 2007 – 2009 | Mercedes Benz | E550 |
| 2007 – 2009 | Mercedes Benz | E63 AMG |
Applicable Part Number
Feedback
Use the comments section below to share your experiences or tell us what we can do to improve the article.


