The M-Class has an emergency (parking brake shoes) on the rear wheels. How do you know if you need to replace them? You press the parking brake, which is too easy to press, or it doesn’t keep the car in place when parked on a hill. You can still have system issues even if you never use the parking brakes. If you rarely use the emergency brake in that case, your brake cables could rust and seize in their housings. This DIY article is focused on replacing the rear emergency brake shoes.
These instructions apply to: M-Class ML320 ML430 ML500 ML350, years 1998-2005
What common symptoms indicate you may need to replace the Emergency / Parking Brake Cable?
- The parking brake does not hold the car.
- The parking brake does not release.
- The parking brake warning light is on.
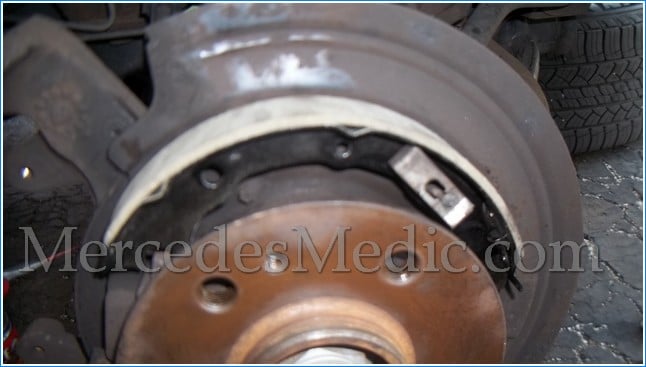
When you press the parking brakes, you activate the shoes in the rear rotors, which are in the inner part of the rotors of the ML. Even though you see a caliper and disk for your regular brakes, there are shoes in the back (inside part) of the rotor for the emergency brakes.
Replacing the rear shoes in the ML is a job you can tackle. Your biggest challenge will be the springs and clips holding the shoes in place; many will be rusted. We strongly recommend you get a new kit for under $20; see here and replace them. It will make your job easier, and you don’t have to worry about breaking the old rusted parts. You must take all these apart if you click on the image. You should be taken to Amazon, where you can order all these parts for less than $20.

Before you start this job, get the new brake shoes for your ML. You can buy quality shoes on Amazon for under $20, see this link. 
Step-by-step instructions with pictures.
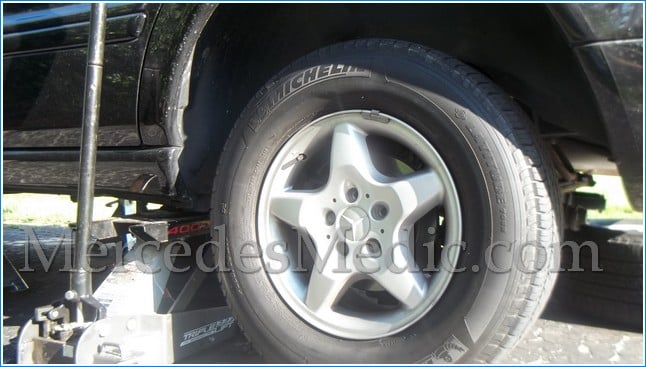
- Remove wheels. Secure the car with jack stands, don’t rely just on the jack.

- Remove the two 13 mm bolts in the back of the caliper.
- NOTE: You should also open the brake fluid reservoir cap. This will allow you to push the brake pads out (meaning compressing the brake cylinder in the caliber). This will make it easier for you to put everything back.
- Disconnect the brake wear sensor if you have one.
- Pull out the brake caliper with the pads.
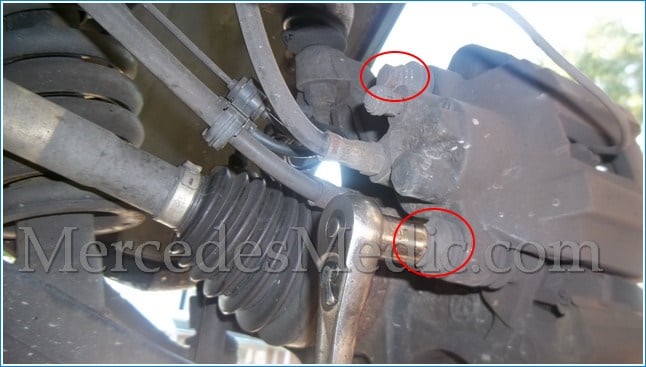
- Remove the two bolts shown below.
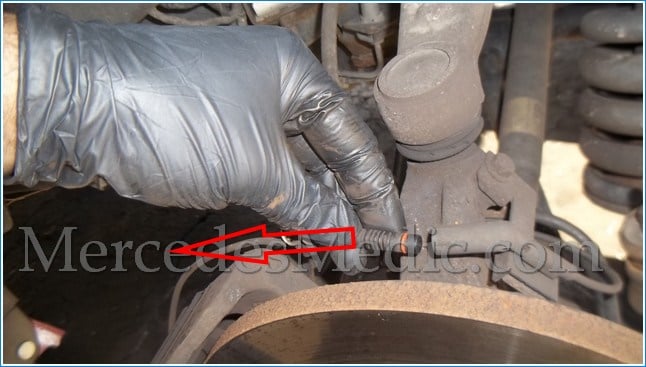
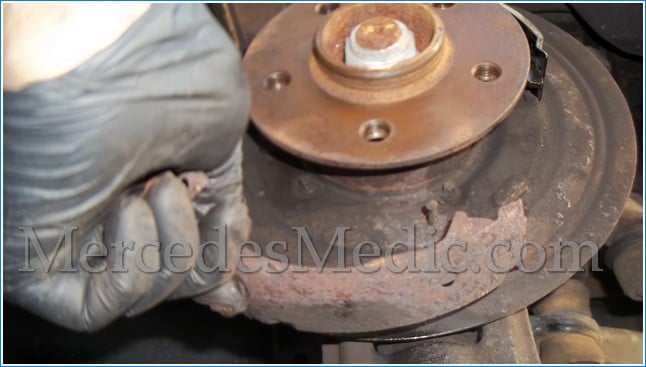
- Remove the bolt that keeps the rotor centered.
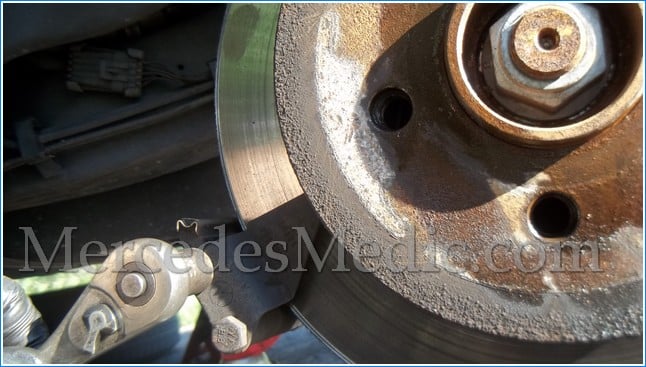
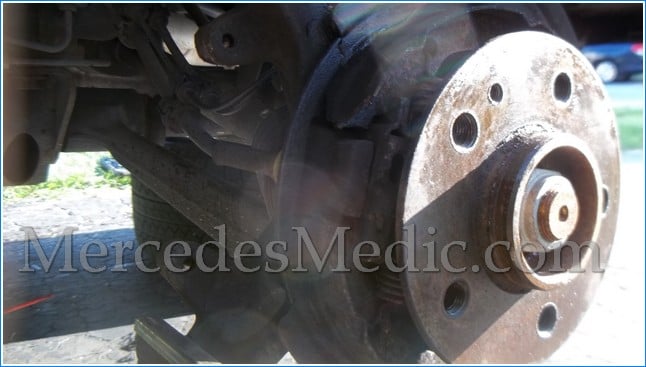
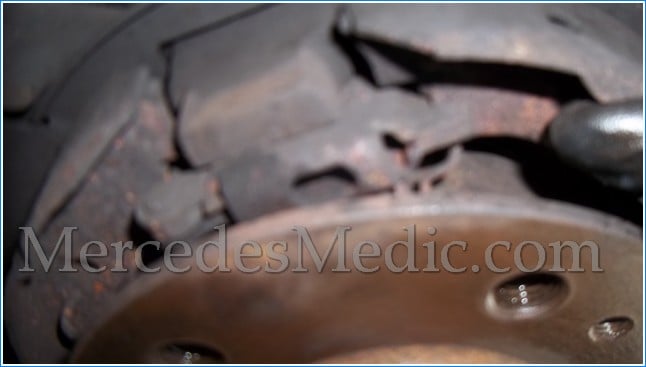
- At this point, you should be able to remove the rotor. You may want to spray a WD-40 a few times and let them sit for a while. See the wet rotor above? You can hit the rotor to get it loose, but that could cause damage to the rotors. In our case, we didn’t care about damaging the old rotors because we replaced them rotors with new ones. This is what you should see once you remove the rotors.
- Remove the retaining clip and the pin. The pin comes out from the back.
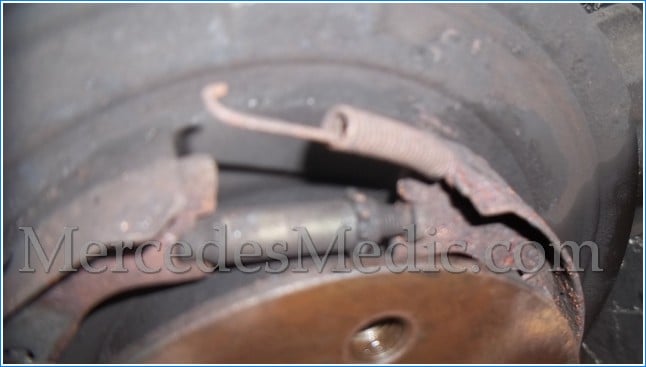
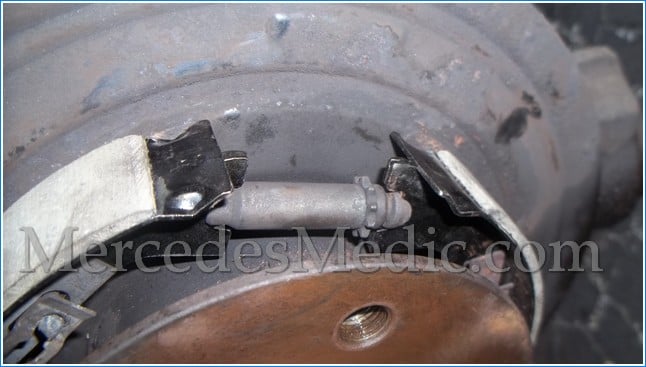
- Remove the spring on top of the adjusting mechanism. Turn back the adjusting mechanism and remove it if space allows.
- Remove the other spring that holds the shoes in place. That is one piece.
- Remove the old brake shoes and Clean the surfaces.
- Place grease on all the bearing and slide surfaces, especially at the expansion lock.
- Install in reverse order.
Put the shoes in place and install the pins and adjustment mechanism. Then install the springs.
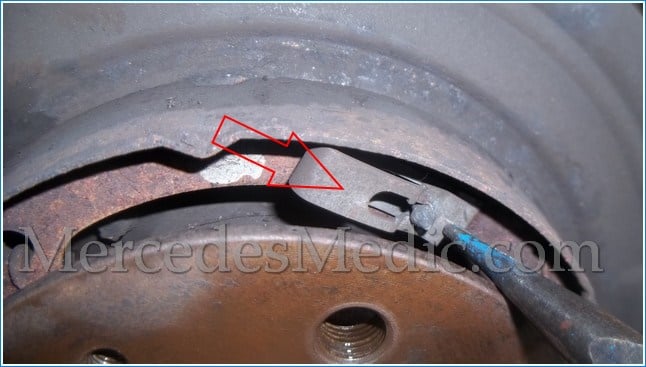
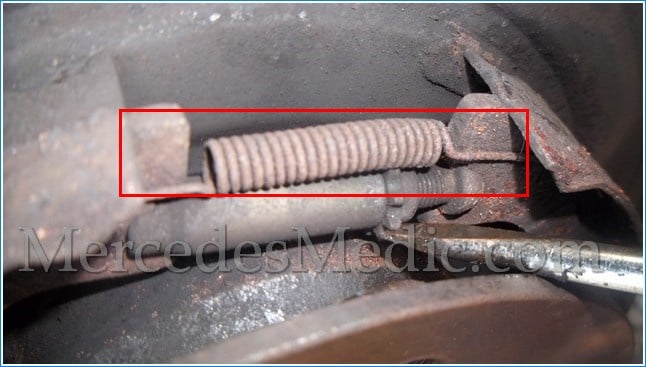
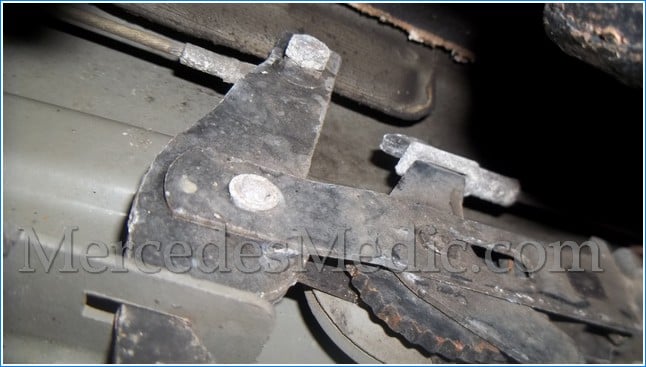
- You are supposed to release the automatic slack adjuster. This is located right in the center of the car, underneath. Below you can see a picture. You will need to lift the center holding clip using a screwdriver. This will allow the cable slack adjuster to reset itself automatically. The emergency pedal doesn’t release; return when you release the parking brakes. The spring in the picture could be the reason in this case.
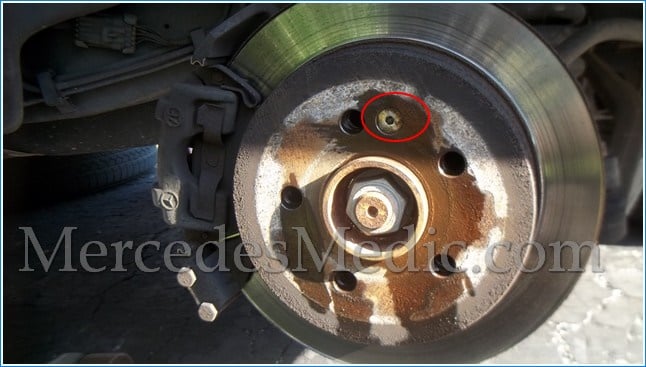
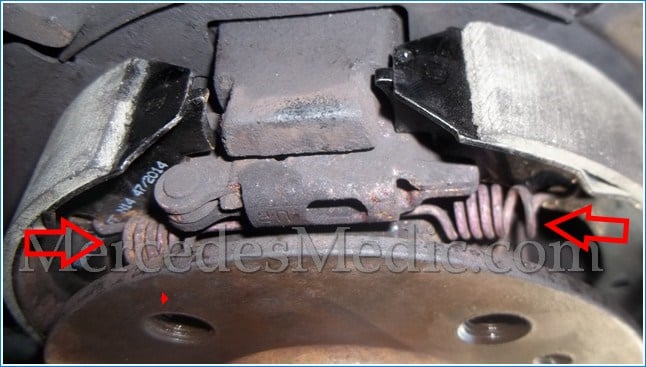
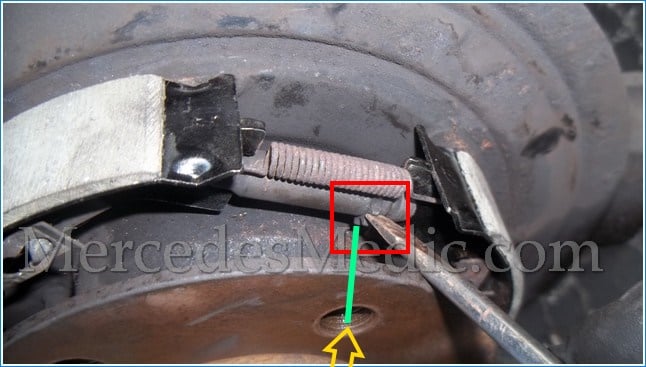
- Adjust parking brakes. Once you install the rotors, you can use a screwdriver to adjust the shoes. You will use the lug nut hole to turn the adjusting nut we looked at earlier. You can turn the nut both ways. You will have to experiment with which way will tighten the brakes. How to adjust the parking emergency brakes on ML?

Use a flat screwdriver to adjust the nut shown in the picture below. Of course, you will not be able to see all of this. The picture lets you get an idea of what you will be doing. A flashlight should help. Your screwdriver will be inserted in the whole below, in the orientation of the green line.